This is my first ever tutorial and I didn't feel like going to get my camera so the pictures are taken with my iPod and not very great :) This is a pillow made with fleece and the edges are joined without sewing or tying. To make this pillow you will need:
Fleece- 2 rectangles about 18" by 15"
Sharp scissors
Poly-fil or anything that you would use to stuff a pillow
I decided to add an applique letter so if you decide to do that, you will also need scrap fabric, a needle, and thread.
 |
| Take one of the fringe strips and fold it in half. |
 |
| Cut a small slit, making sure that you do not cut all the way to the edge. |
 |
| This is what it looks like after cutting the slit. |
 |
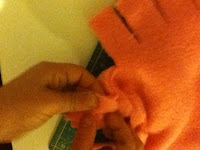
| Pick any fringe piece. Take the piece to its left and push from the back of the hole, up through it. It's easy enough for my 4 year old to do it - at least until she got bored! |
 |
| Continue around until you have about 4 or 5 pieces of fringe left. Stuff it with poly-fil. |
 |
Finish pushing the fringe strips through the holes until you have only one left. |
Take your final fringe piece. Pull the two pieces apart. Use the top one and push the end down through your original piece. You can either tie the top and bottom pieces together or use a little fabric glue to attach them.
*To applique the L, I cut out the letter from scrap fabric. I used a blanket stitch to attach it. I used this tutorial to complete the blanket stitch.


No comments:
Post a Comment